Arriving in Kenya can be an exciting experience, especially when you’re well-prepared. With the correct information, your entry into the vibrant Kenya can be seamless and stress-free. In this article, we’ll provide a comprehensive guide to ensure your arrival in Nairobi, Kenya, is as smooth as possible so you won’t have to spend hours researching what to expect. We will mainly focus on the arrival at Jomo Kenyatta International Airport or JKIA in Nairobi, Kenya’s biggest arrival hub.
What to Consider Before Taking Your Flight
Before you even set foot on the plane, there are a few crucial steps to ensure your trip to Kenya goes off without a hitch. First, ensure you’re up to date with your vaccinations, as some are required for entry if you’re travelling from certain countries. Check the latest requirements to avoid any surprises.
Next, have your Electronic Travel Authorization (eTA) ready. The new eTA aims to replace the traditional visa application, streamline the process, and improve arrival procedures. Yet, the process remains as detailed and complex as before when applying on the government site.
If you haven’t applied yet, consider using ExpressETA to streamline the process and avoid last-minute hassles. Our one-page application form takes less than three minutes to complete, and you can get your eTA approved and in your inbox within 24 hours.
Once your documentation is in order, it’s time to think about practicalities. Ensure you have installed the necessary apps, such as your preferred map application, and transportation services like Uber or Bolt. Remember to sign in and link your credit card to these apps for easy access upon arrival.
For added convenience, consider getting an eSIM before you leave. This will ensure you have a data connection the moment you land, sparing you from hunting down a SIM card vendor at the airport with long queues.
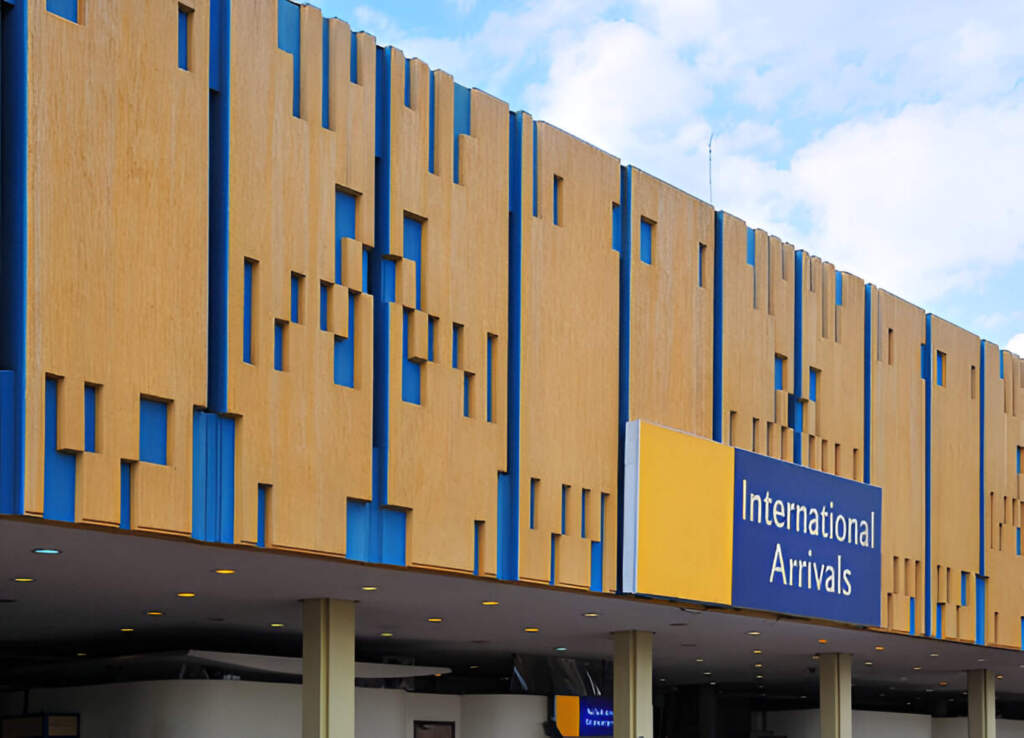
Arrival at Jomo Kenyatta International Airport (JKIA)
Upon landing at JKIA, you’ll be transported by bus from your plane to the immigration hall. The hall can be overwhelming, with multiple queues and a bustling atmosphere, but don’t worry—despite the different categories of queues, you can generally join any of them.
Ensure you have your passport in hand as you approach the immigration desk. The airport offers free Wi-Fi, so you’ll have no issues connecting online if you need to access your emails to retrieve your ETA confirmation.
Navigating the Immigration Desk
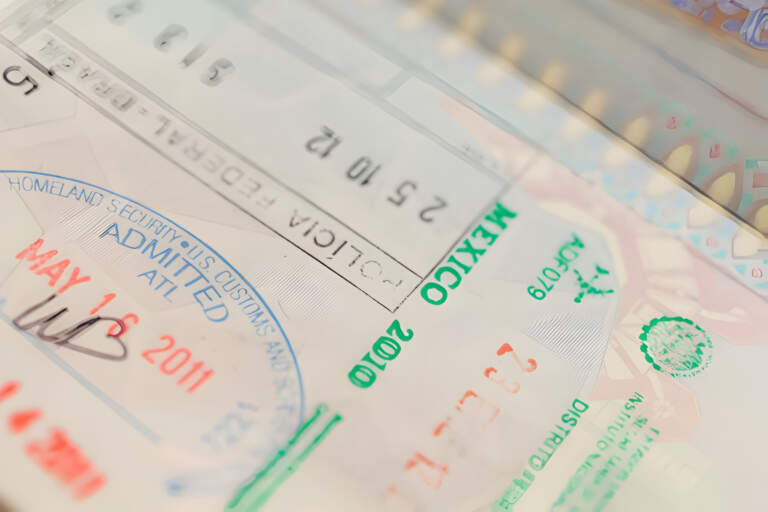
At the immigration desk, your eTA or visa is already paid for and issued, meaning there’s no need for any additional payments. When speaking to the officer, politely request the maximum available stay, which is typically 90 days. Even though the default issuance is 30 days, if you plan to stay longer, securing the full 90 days upfront is essential to avoid the hassle of extensions later.
Remember, no extra payment is required at this stage—you’ve already paid for your full visa duration.
Collecting Your Baggage and Dealing with Customs
After clearing immigration, you’ll proceed to collect your luggage. Depending on the security screening, your bags may be subject to an additional search, indicated by an X mark on your baggage tag.
As you exit, be mindful of individuals offering SIM cards, taxi rides, or expedited security checks. Politely decline these offers to avoid unnecessary expenses or potential scams.
Arranging Transportation
Your next priority is transportation once you’ve collected your luggage and cleared customs. If you’ve pre-arranged a ride, you can head straight to the car park just outside the arrival hall.
If you haven’t arranged transport in advance, booking a ride through Uber or Bolt using the airport’s Wi-Fi before you leave the hall is best. When booking, arrange a specific pickup point with your driver to make sure everything is clear.
We generally advise against taking a taxi directly from the airport, as they tend to be overpriced, and some drivers may be operating privately without proper licenses. Uber or Bolt offers a safer, more reliable option.
Welcome to Kenya, or as the locals say, “Karibu Kenya!” With this guide, you can navigate your arrival smoothly and confidently start your adventure.
Simplify Your eTA Application with ExpressETA
We at ExpressETA are here to make your journey even easier by handling the visa or ETA application process, taking that extra burden off your shoulders.
At ExpressETA, we specialize in transforming your travel dreams into reality with a seamless, stress-free process. We turn the complicated and tedious process into a simple, swift experience.
Our one-page application form takes less than three minutes to complete. We only require your details, such as name, email, date of birth, and phone number. Then, upload two documents: your passport picture and a photo of yourself.
After that, get your eTA approved and in your inbox within 24 hours.
Choosing ExpressETA means choosing peace of mind. While we handle the paperwork, you can focus on planning your exciting trip to Kenya. Whether it’s a safari adventure, a beach getaway, or a cultural tour, we are here to make your travel preparations effortless.
Let us handle the complexities while you prepare for an unforgettable journey.





Leave a Comment